

| electron Tube Data sheets |

|

| ||

| Philips GM3150 |
|
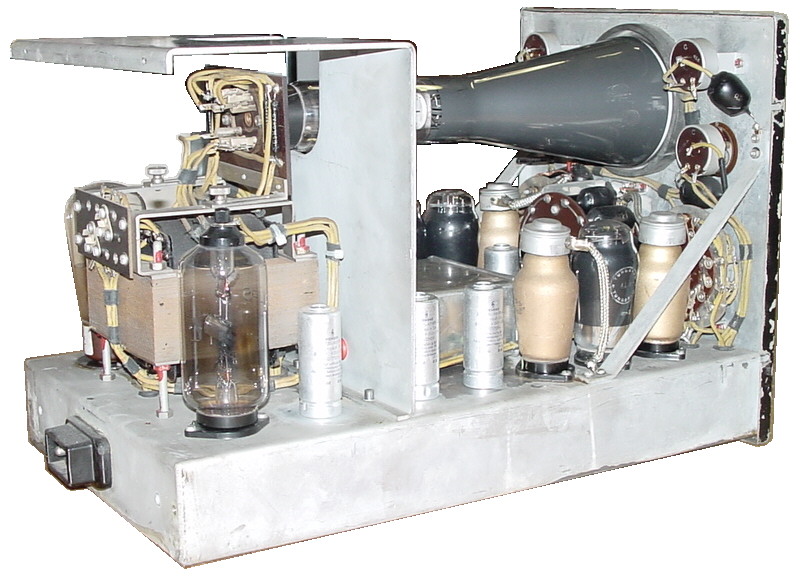
Here are some pictures, the Brochure and the circuit diagram of my Philips GM3150 oscilloscope. This is the first one they made. It was a try-out series that was never for sale on the market. That makes this beautiful instrument very special. After some improvements they came out with the GM3152 which had better performance, such as speed. I found the GM3150 on the VERON radio-fleamarket (1999-03-13), not knowing how old it was but it looked nice to me and it was only 25 Dutch Guilders (10 US$). A sign stated: 'only the tubes are worth buying it'. It was very heavy and I had to carry it a long distance to my car. At home when I took a good look, it was clearly to see that all electrolytic capacitors were leaking all over the chassis. Also all tubes, except for the high voltage rectifier and maybe the crt were ok. The rest of the tubes were dead according to my tubetester. So I bought some new electrolytic capacitors and all the tubes that that had to be replaced. I cleaned the chassis and plugged it in the mains with the tubes left out. I checked the filament voltage of the tubes to see if the mains voltage selection was set ok. It was. So I placed the tubes in position and I did it again. Wow! The tubes were on and the dc supply voltage was also present. I turned all the switches to see if I could get something on the screen. Ok, something was there. I could see that in some cases there is even something like a sweep but it was not much. No response to the input either. Of course, a lot of old capacitors will have to be replaced etc. Actually it was not very wise of me to plug it in already but I was so curious that I did it anyway. At this time I had no information about the GM3150 at all. Only somewhere on the chassis, in pecil, was written: GM3150 | |||
| To be continued... | |||

| |||
| Brochure (2,329,001 bytes) | Circuit (130,908 bytes) (reverse engineering) | ||

|

|

|

|

|

|

|

|

|

|

|

|